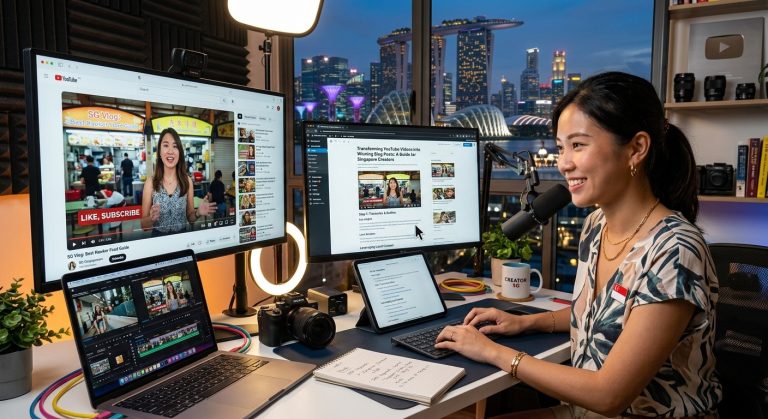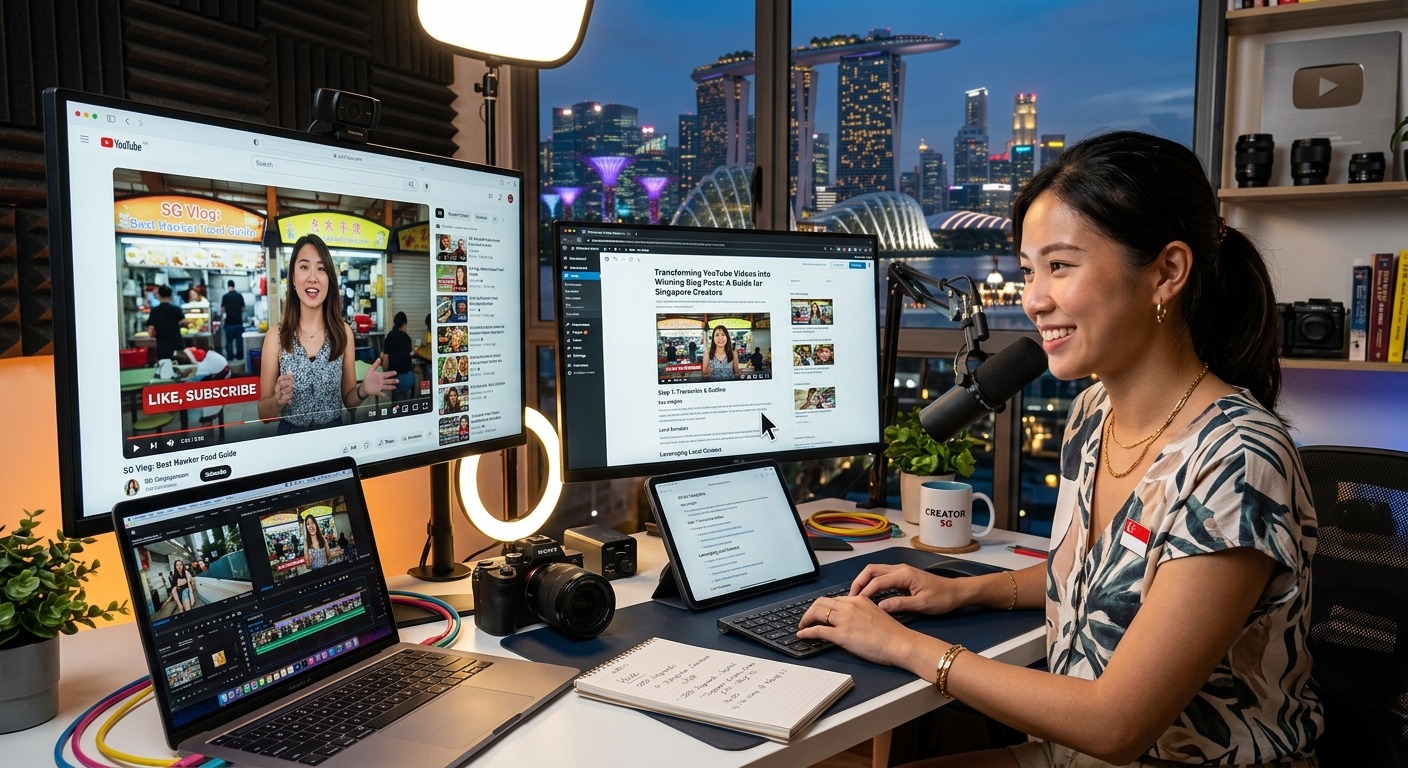
You spent hours filming, editing, and uploading your latest YouTube video. The views are coming in, your subscribers are happy, and now you are staring at a blank blog post editor wondering how to fill it. The good news is that the content you need is already sitting in that video. You just need to get it into a different form.
Repurposing YouTube videos into blog posts is one of the smartest moves a Singapore creator can make. Your audience does not all consume content the same way. Some watch videos on their commute from Jurong to the CBD. Others search Google at midnight looking for written answers. A blog post reaches the second group in a way your video never will, and it does it without requiring you to create anything new from scratch.
This workflow is not about copy-pasting your video script. It is about taking the effort you have already put in and giving it a second platform to shine on. Done right, every video you publish can fuel at least one blog post, and your content output doubles without your workload doing the same.
What You Will Walk Away With
Turning a YouTube video into a blog post is not about copying captions and calling it done. This article walks through a practical workflow built for busy Singapore creators who want written content without starting from scratch every single time. From pulling your first raw transcript to editing it into a polished, SEO-ready post, you will leave with a repeatable system that makes every video work harder for your brand.
Why Written Content Still Matters for Singapore Bloggers
There is a common assumption that video has overtaken written content entirely. That is not the full picture. Search engines still crawl text, not video audio. If someone in Singapore types “best budget cameras for beginners” or “how to monetise a blog in Singapore” into Google, your video is unlikely to appear unless there is written content attached to it. A blog post built from your video creates a second URL that can rank independently and pull in readers who would never have found your channel.
Understanding SEO fundamentals makes it clear why text still holds so much weight in organic search. Even as video content grows, Google’s ability to read and index written words is far more advanced than its ability to process spoken audio from a video file. A blog post gives you headings, meta descriptions, internal links, and body text that all signal relevance to search engines in a way video alone cannot.
There is also an audience overlap argument worth considering. Your YouTube subscribers and your blog readers may not be the same people. Running both platforms means you are reaching two communities instead of one, and both can eventually lead back toward each other.
The Real Cost of Starting Blog Posts from Scratch
Most Singapore creators who maintain both a YouTube channel and a blog will tell you the same thing: the blog often gets neglected. Life fills up fast. Brand deals arrive, community management eats up afternoons, and suddenly three weeks have passed without a single post going live. Writing a 1,000-word article from zero is genuinely time-consuming, and it is no surprise that many creators let their blogs slow down while their channels stay active.
Repurposing solves this directly. You have already done the research. You have already structured your talking points. You have already recorded yourself explaining everything clearly. The video is, essentially, a rough first draft of a blog post that just has not been written down yet. The hardest creative work is already behind you.
Bridging the Gap Between What You Said and What You Write
The challenge is that a video and a blog post are not the same thing. Videos can be conversational, rambling, and visual. Blog posts need to be structured, scannable, and self-contained. A viewer who misses something can rewind. A reader who hits a confusing paragraph will simply leave. The gap between a raw video and a polished post is real, and crossing it takes a clear process rather than wishful copying and pasting.
Getting Your Video into Text Is the First Step
The fastest way to start is to get your spoken words into text. Manually rewatching your video and typing out everything you said is not a good use of your time. The most efficient approach is to transcribe YouTube videos automatically, pulling your audio into readable text within minutes. You paste your video link, wait briefly, and receive a full text version of your video back. It is not a perfect blog post, but it is a foundation. Instead of facing a blank page, you have something to shape.
This single step is where most creators save the most time. Everything after it is editing, not creating. That shift in mindset makes the whole process feel far more manageable, especially during weeks when your schedule is already packed.
A Step-by-Step Process for Converting Your Transcript
Once you have your transcript, the work becomes reshaping rather than rewriting. Here is a process that works well across most video formats:
- Read the full transcript before editing anything. Get a clear sense of the flow, spot sections that went off-topic, and note where the strongest ideas live.
- Build your blog post structure first. Write out your H2 and H3 headings before filling in the body. This gives you a skeleton to work from instead of editing into a shapeless block of text.
- Map transcript sections to your headings. Move the relevant text under the right heading rather than trying to rewrite the whole piece in order.
- Edit for readability. Cut filler words, tighten long sentences, and remove anything that only makes sense in spoken form.
- Write a fresh introduction and conclusion. These two sections should feel like they belong on a blog, not like lifted video script.
- Add internal links, a focus keyword, and a meta description. These are the SEO elements that make the post discoverable on Google.
- Add images or screenshots where relevant. Visual demonstrations that worked in your video need to become static visuals or written descriptions in your post.
What Works in Video Does Not Always Work in Writing
A raw transcript is a useful starting point, but it carries habits from spoken language that do not belong in written content. Being clear about what to cut and what to keep saves you from publishing something that reads like an unedited monologue.
- Verbal filler such as “um”, “you know”, and “like” should be removed entirely
- Mid-video recaps (“as I mentioned earlier”) need to be restructured into proper prose transitions
- Visual demonstrations that rely on what is on-screen need to become written descriptions or be supported by screenshots
- Humour that depends on your tone of voice or facial expression often falls flat in text and is better rewritten
- Your video call to action (“smash that like button”) should become a written CTA that fits a blog format naturally
- Any tools, products, or links mentioned verbally should become proper hyperlinks within the body of the post
Two Stages of Your Video-to-Blog Workflow at a Glance
| Stage | Task | Best Approach | Estimated Time |
|---|---|---|---|
| Transcription | Converting video audio to text | Automated transcription tool | 2 to 5 minutes |
| Structuring | Creating headings and outline | Manual (you know your content best) | 10 to 15 minutes |
| Rewriting | Editing transcript into readable prose | Manual editing pass | 30 to 60 minutes |
| SEO Optimisation | Keywords, meta description, internal links | SEO plugin or manual review | 15 to 30 minutes |
| Publishing | Formatting, images, and scheduling | CMS such as WordPress or Ghost | 15 to 30 minutes |
Targeting Singapore Search Traffic with Your Repurposed Posts
Once your post is shaped and ready, the final step is making sure it is findable by the right people. Singapore-based search traffic behaves differently from global audiences. People here often search with local intent, and weaving in familiar references can make your post feel more relevant and rank better for local queries.
If your video was about budget travel, your blog post could target phrases like “cheap flights from Singapore to Bangkok” or “travel tips for Singaporeans on a tight budget.” If it was a food review, naming the specific neighbourhood or the nearest MRT station in your heading gives the post a local anchor that broader food content cannot match. These localised keywords face less competition than global search terms, which gives newer blogs a genuine shot at appearing on page one.
It is also worth embedding the original YouTube video directly inside the post. This keeps readers on your page longer, signals to Google that your content is rich and valuable, and gives your video additional traffic from people who found you through a written search rather than the YouTube algorithm.
Putting Your Videos to Work Across Both Platforms
Content repurposing is not a shortcut. It is a strategy. The creators building sustainable content businesses in Singapore are not necessarily working harder than everyone else. They are working with more structure. They film once and publish twice. They write for readers and speak for viewers. They treat every piece of content as a starting point rather than a finished product.
Start with your most recent video. Pull the transcript, rough out the heading structure, and spend an hour reshaping the text into a post. Publish it, embed the video, link it back from your YouTube description, and track what happens to your blog traffic over the following month. Then repeat the process with your next upload.
By the time you have converted five or six videos into posts, the workflow will feel natural. Your blog will grow alongside your channel, your organic search presence will build quietly in the background, and you will have created twice the content in roughly the same amount of time. That is the real case for repurposing: not that it is easy, but that it makes every hour of content work count for more.
About the Author